Ageing and weathering miniatures: how to make new things look old
Dry-brushing, washes, edge wear and the tea-staining trick. Five gentle techniques for taking the shine off new miniatures so they look like they have been in the family for years.
July 2026 · 7 min read · By Margaret
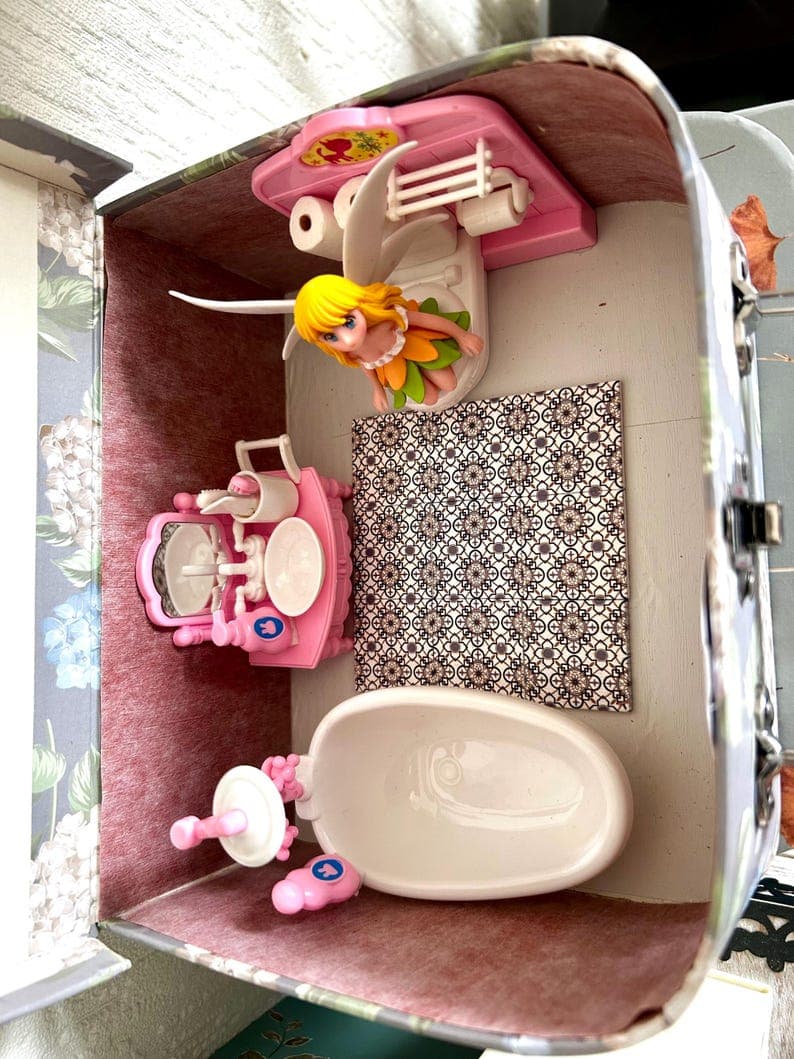
New miniatures have a particular look: even colour, sharp edges, and a faint sheen. Real objects do not look like that. Real objects have dust in their crevices, wear on their corners, and colour that has gone slightly uneven over the years. Ageing a miniature is the process of putting back what time would have done, and it is the single fastest way to make a cheap piece look expensive.
All of this is gentler than it sounds. You are not distressing furniture with a hammer. You are adding faint shadow and faint wear, and the golden rule throughout is that you can always add more, but you cannot easily take it away. Go lighter than you think, then repeat.
Kill the shine first
Before any technique, deal with the sheen. Nothing announces a cheap miniature like a plastic gleam under a lamp. A light coat of matt varnish over a resin or plastic piece removes it instantly and gives paint something to grip. This one step, on its own, improves nearly every mass-produced miniature.
A wash, for grime in the crevices
A wash is very thinned dark paint, about one part paint to eight parts water, brushed over the whole piece so it runs into the recesses and pools there. Wipe the raised surfaces back with a cloth while it is still wet. What is left is a soft shadow in every join, groove and corner, exactly where dust and grime collect in real life. It makes carved detail suddenly readable.
Dry-brushing, for catching the light
The opposite technique. Take a lighter shade, load a stiff brush, then wipe almost all the paint off onto kitchen roll until the brush seems nearly dry. Whisk it lightly across the piece so it catches only the raised edges. This mimics the way real objects go paler where hands and sleeves have rubbed them for years. Wash first, dry-brush second, and the piece gains depth in both directions.
Edge wear, exactly where hands go
Think about where a real object gets touched: the front edge of a table, the arms of a chair, the corner of a step, the handle side of a door. Rub those places very lightly with fine sandpaper, or touch in a slightly lighter or darker tone. Wear in the right places is convincing; wear scattered evenly all over just looks like damage.
Tea-staining for fabric and paper
Bright white fabric and crisp white paper are the two loudest giveaways of newness in a miniature room, because almost nothing in a real home is that white. Dip fabric or paper briefly in cold, strong, cooled tea, then press between kitchen roll and dry flat. It comes out a soft aged cream. Do it before cutting anything to size, since fabric can shrink a touch as it dries.
| Problem | Technique | Keep in mind |
|---|---|---|
| Plastic shine | Matt varnish | Do this before any painting |
| Detail looks flat | Dark wash | Wipe raised areas back while wet |
| No sense of age | Dry-brush lighter tone | Almost no paint on the brush |
| Looks factory-new | Edge wear | Only where hands would touch |
| Fabric or paper too white | Cold tea stain | Stain before cutting to size |
A word on restraint. Ageing is seasoning, not the meal. The aim is a piece that looks cared for and long-owned, not one that looks abandoned in a damp shed. If someone looks at your room and thinks about how weathered it is, you have gone too far. If they simply believe it, you have it exactly right.
And test on something you do not care about first. Every one of these techniques behaves differently on wood, resin and card, and finding that out on a piece you love is a miserable way to learn it.
See rooms with a lived-in finish
Ageing miniatures: common questions
How do you age miniature furniture?
Work in layers. Matt varnish first to kill any shine, then a thin dark wash to settle grime into the crevices, then a very dry brush of a lighter tone to catch raised edges, and finally light wear only where hands would naturally touch the piece.
What is dry-brushing in miniatures?
Dry-brushing is loading a stiff brush with a lighter paint, then wiping almost all of it off before whisking the brush lightly across the piece. Only the raised edges pick up colour, which mimics years of rubbing and instantly adds depth.
How do you make miniature fabric look old?
Dip it briefly in strong, cold, cooled tea, press it between kitchen roll and dry it flat. It comes out a soft aged cream instead of bright white. Stain before cutting to size, because fabric can shrink slightly as it dries.
Can you over-age a miniature?
Easily. The aim is a piece that reads as long-owned and cared for, not derelict. If a viewer's first thought is how weathered it looks, it has gone too far. Always add less than you think, then build up gradually.
Read next
How to add realistic detail to a miniature room: the small things
Ten details that turn a miniature room from a furniture showroom into somewhere that looks lived in, from a half-drunk cup to the art of leaving something slightly out of place.
What miniature furniture is made from, and how to tell quality from tat
Wood, resin, metal, printed card and 3D print: what each material means for how a miniature looks, lasts and photographs, plus six checks for spotting a well-made piece before you buy.
How a suitcase room is made: a look inside the workshop
From an empty vintage-style case to a finished little world: the eight stages every Tiny Treasures room goes through, and why each one is still done slowly, by hand.
Written by Margaret at the workshop. Browse current pieces →